Clever Ideas for Incorporating Wainscoting
At its core, wainscoting is more than just decorative. It serves a dual purpose:
- Protect Your Walls: In high-traffic areas like hallways, dining rooms, and entryways, wainscoting acts as a barrier against scuffs, scratches, and accidental bumps.
- Enhance Aesthetics: The right wainscoting can take a room from ordinary to extraordinary. It adds texture, depth, and character, creating a polished, high-end look.
Think of it as a blend of form and function. Whether your style leans modern, rustic, or traditional, there’s a wainscoting design to match.
What Are the Best Materials for Wainscoting?
One of the great things about wainscoting is its versatility. It can be crafted from a variety of materials to suit your budget, aesthetic, and room usage:
- Wood: Perfect for a warm, classic vibe. Opt for natural or painted finishes depending on your style.
- MDF (Medium-Density Fiberboard): An affordable alternative to wood that’s easy to paint and shape, making it ideal for detailed designs.
- PVC or Vinyl: Great for bathrooms and kitchens because it’s water-resistant and durable.
- Metal or Marble: Luxurious options that add a bold, modern edge to your walls.
Choosing the right material is key to achieving the look you want, so consider the room’s function and your personal style before you decide.
How Can Wainscoting Transform Small Spaces?
Got a small room that feels cramped or uninspired? Wainscoting can be your secret weapon. By drawing the eye upward and adding texture, it can make a room feel taller, brighter, and more dynamic.
Here’s how:
- Go Vertical: Beadboard or vertical slat designs elongate the walls, giving the illusion of height.
- Light Colors Are Your Friend: Painting wainscoting in white or pastel shades keeps the space airy and open.
- Add Personality Without Clutter: Wainscoting creates visual interest without taking up physical space—a win-win for compact areas.
1. Timeless elegance with white paneled wainscoting

If you’re looking for a design choice that never goes out of style, white paneled wainscoting is your go-to. The crisp panels instantly brighten up the room, giving it an elegant finish. Pair it with neutral walls for a soothing effect or go bold with vibrant wallpaper above the wainscoting. You can use this style in dining rooms, living areas, or entryways to create a welcoming and elevated look.
- Choose the right panel width: Thicker panels make a statement while narrower panels offer a more understated vibe.
- Complement with crown molding: Adding crown molding can unify the room and provide a refined, cohesive feel.
- Opt for durable finishes: Use high-quality paint and protective coats to keep the white panels looking fresh over time.
Complete the look with chic pendant lights or a classic chandelier. This helps emphasize the wainscoting’s luxury without overwhelming the space.
To tie everything together, add plush rugs and textured throw pillows for a cozy, balanced atmosphere.
Budget option: Go for primed MDF panels instead of expensive hardwood to achieve the same elegant effect at a lower cost.

2. Rustic charm with reclaimed wood wainscoting

Add character and warmth to any space by opting for reclaimed wood wainscoting. Whether you source barn wood or salvaged timber from an old building, the unique grain patterns and weathered textures bring a hint of history into your home. This approach is perfect for an accent wall in a living room or a cozy home office.
- Ensure proper treatment: Clean and treat the wood for pests or moisture issues before installation.
- Mix and match finishes: Combine polished planks with rougher textures for a balanced look.
- Choose subtle décor: Simple artwork or metal sconces add interest while letting the wood remain the focus.
Complete the look by matching the wood’s natural tones with earthy accent pieces, such as woven baskets or jute rugs, to create a welcoming, cohesive space.
For a finishing touch, incorporate warm-toned lighting to enhance the wood’s rustic appeal.
Budget option: Check local salvage yards or online marketplaces for discounted or leftover batches of reclaimed boards.

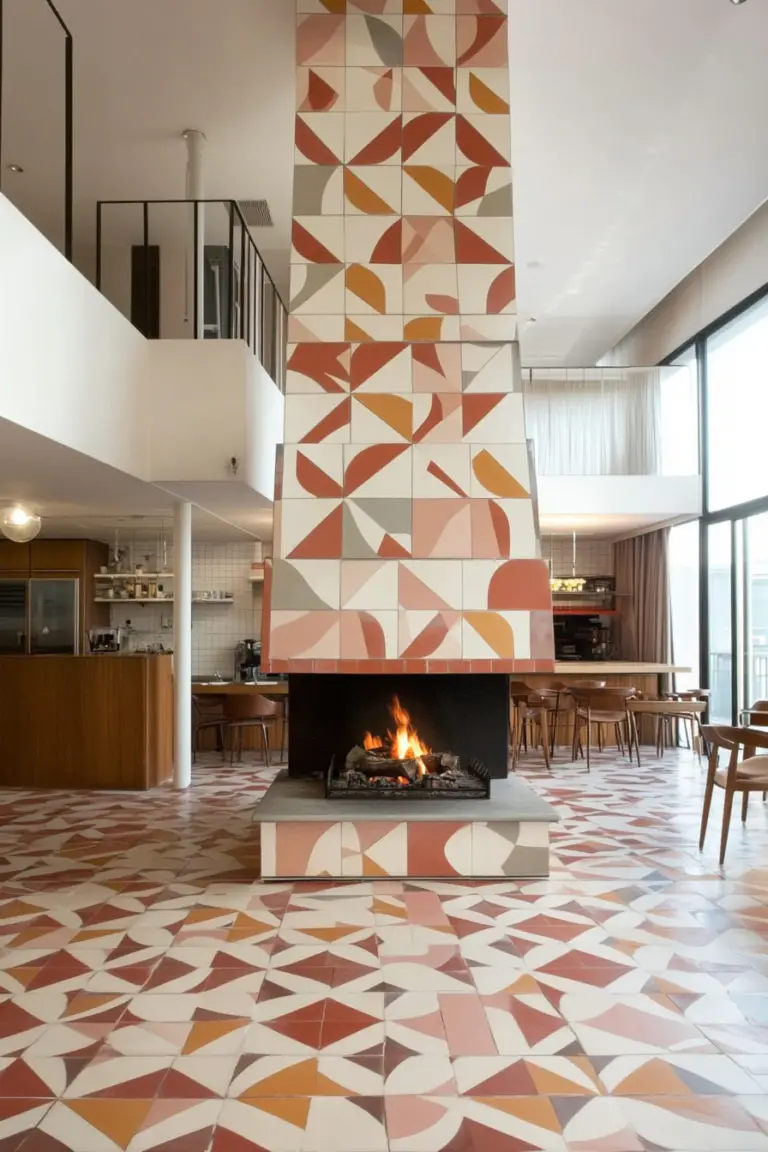
3. Modern flair with geometric-patterned wainscoting

If you crave something contemporary, a geometric-patterned wainscoting may be just the style you need. Choose angular shapes or subtle repeating lines to give your walls a modern edge. This style is especially striking in entryways or dining rooms, where the pattern can truly catch guests’ attention.
- Pick the right paint finish: A matte or eggshell finish can highlight the geometric details without glare.
- Balance with simpler décor: Let the wainscoting shine by choosing minimalist furniture pieces.
- Consider color blocking: Use contrasting paint colors to emphasize the geometric design.
Complete the look with bold lighting fixtures and abstract artwork to underscore the modern, creative style.
A small bench or console table with clean lines is the perfect addition to keep the area functional yet stylish.
Budget option: Create the geometric patterns with strips of MDF or even painters’ tape before painting to mimic pricier custom millwork.

4. Bold statement with colorful painted wainscoting

For those who love color, turn your wainscoting into a dramatic focal point by painting it in vibrant hues. Deep blues, emerald greens, or sunny yellows can liven up any room. Pair it with neutral walls for a stylish contrast, or go monochromatic for a maximalist approach.
- Test colors first: Paint swatches on a small section to see how they look with your lighting.
- Keep the upper walls subtle: White or soft-toned walls help the bold wainscoting pop.
- Coordinate with accents: Include throw pillows or curtains in the same color family to tie the room together.
Complete the look by layering decorative elements like framed art or a mirror above the wainscoting. This way, the color stands out without overpowering the space.
For an added splash, you can paint the trim in a slightly different shade but within the same color palette.
Budget option: Try an accent wall first if you’re unsure about going all-in with bold color.

5. Classic beauty with raised-panel wainscoting

Raised-panel wainscoting remains a staple in traditional or formal interiors. It adds depth, texture, and a sophisticated air to living rooms, dining rooms, or even master bedrooms. The raised profiles catch light and shadows, creating visual interest and highlighting the craftsmanship of the woodwork.
- Focus on proportions: The wainscoting height should complement your ceiling height for balanced aesthetics.
- Choose high-quality materials: Wood or MDF can both work, but opt for a sturdy option to preserve the shape of the panels.
- Play with paint or stain: You can leave the wood natural for a richer tone or paint it white for a crisp, clean look.
Complete the look with classic furniture pieces such as upholstered chairs or a timeless wooden dining table. This ensures the overall design feels cohesive.
Adding soft lighting, like wall sconces, can further emphasize the raised textures in the panels.
Budget option: Use MDF raised panels instead of solid wood and consider a high-quality paint job to achieve the same classic appearance.

6. Coastal vibe with beadboard wainscoting panels

Beadboard wainscoting is the quintessential choice for a breezy, coastal-inspired interior. Its vertical lines evoke a cottage-like charm and can make a space feel both relaxed and inviting. Perfect for bathrooms, kitchens, or sunrooms, beadboard wainscoting pairs well with beachy hues like pale blues or sandy beiges.
- Don’t skip priming: This is crucial for preventing moisture damage in humid areas.
- Extend it halfway up the wall: Typically, beadboard is installed around 32 to 36 inches high, but you can go higher for a bolder statement.
- Consider a contrasting rail: Use a different color or style of chair rail to add extra visual interest.
Complete the look with nautical décor elements, such as rope-wrapped lighting or seashell-inspired accessories, for a fully immersive coastal theme.
Light, sheer curtains can also help maintain that airy, seaside feel.
Budget option: Consider PVC beadboard panels in wet areas for a more affordable and moisture-resistant alternative.
7. Glamorous look with mirrored wainscoting accents

For a touch of luxury, consider mirrored wainscoting accents. Reflective surfaces can make a room appear larger and brighter, instantly upping the glam factor. This design works particularly well in dining rooms, entryways, or anywhere you want to create a refined, upscale atmosphere.
- Mix with neutral shades: Light or neutral-colored walls work best to let mirrored panels shine.
- Combine with metal finishes: Silver or gold trim can frame the mirrors elegantly, enhancing the overall opulence.
- Be mindful of placement: Avoid areas where fingerprints and smudges may be frequent if you want to reduce maintenance.
Complete the look with statement lighting—like a modern chandelier or crystal pendant—to highlight the mirrored surfaces even more.
Accent furniture in luxe materials such as velvet or polished metal can help reinforce the space’s glam vibe.
Budget option: Use smaller mirror tiles or less expensive acrylic mirror sheets for a similar effect at a fraction of the cost.

8. Minimalist touch with flat-panel wainscoting

Flat-panel wainscoting offers a sleek, streamlined look perfect for modern or Scandinavian-inspired interiors. The smooth surfaces and clean lines help create an airy atmosphere. Use neutral colors or subtle wood stains to maintain that minimalist aesthetic.
- Opt for uniform spacing: Keep panels evenly spaced to maintain a sense of order.
- Try a monochrome palette: Paint the walls and wainscoting in the same hue for a cohesive look.
- Incorporate minimal décor: Simple furnishings and understated art will keep the focus on the wainscoting’s neat lines.
Complete the look by introducing natural textures like a wool rug or rattan chair to add warmth without breaking the minimalist vibe.
A few well-placed potted plants can also help soften the space and bring in some organic flair.
Budget option: Use plywood or MDF boards for a clean, flat surface and paint them to match your existing walls.

9. Vintage appeal with distressed wood wainscoting

Distressed wood wainscoting brings a sense of nostalgia and history to any interior. It’s a fantastic option if you love shabby-chic or farmhouse styles. Lightly sanded edges and chipped paint finishes exude character, making this type of wainscoting ideal for a cozy cottage or countryside vibe.
- Pick complementary finishes: Pair your distressed wainscoting with vintage hardware or antique fixtures for a cohesive aesthetic.
- Layer in soft fabrics: Linens, lace curtains, and knitted throws enhance the warm, lived-in feel.
- Experiment with patina: Use color washes or faux aging techniques to customize the final look.
Complete the look by adding old-world charm with decorative items like vintage mirrors, worn leather chairs, or flea-market finds.
Exposed brick or stone can further emphasize the rustic, aged style if you have the option.
Budget option: Create your own distressed effect on inexpensive wood by sanding, painting, then lightly sanding again for that weathered finish.

10. Two-tone effect with contrasting wainscoting styles

Can’t decide on just one look? A two-tone wainscoting design combines contrasting finishes or colors for a bold, visually dynamic interior. You could pair white beadboard on the lower portion with a darker flat-panel style on top or vice versa. This approach ensures your walls stand out in any room.
- Maintain balance: If you go bold on the lower wainscoting, opt for a softer color or texture above.
- Incorporate a transition rail: Use a decorative molding piece to separate the two styles cleanly.
- Unify with accessories: Select decorative items or textiles that include both featured colors.
Complete the look with complementary window treatments or area rugs that tie together the two contrasting elements.
Wall art that spans across both sections can also help unify the overall design.
Budget option: Use paint to create the illusion of two different wainscoting materials if new panels are outside your budget.

11. Art Deco inspiration with metallic wainscoting

Channel the roaring ’20s with Art Deco-inspired metallic wainscoting. Opt for brass or gold accents against a dark backdrop for that signature opulent feel. Geometric shapes, sunburst patterns, and mirrored panels can all play a part in this stylish design, ideal for formal dining areas or swanky lounges.
- Pair with luxurious textures: Velvet, satin, or marbled surfaces complement the metallic elements.
- Use geometric trims: Consider adding trim in shapes like chevrons or stepped edges for a distinct Art Deco vibe.
- Accent with bold color: Jewel tones like emerald or sapphire can further enhance the glamorous look.
Complete the look by hanging geometric mirrors or polished metal artwork to keep the theme consistent.
A dramatic chandelier can really bring out the shine in the metallic wainscoting, completing the Art Deco fantasy.
Budget option: Metallic paint or metallic wallpaper can be used on flat-panel wainscoting to replicate the luxe effect more affordably.

12. Sophisticated contrast with dark wood wainscoting

Dark wood wainscoting immediately adds depth and drama to a room. Perfect for libraries, home offices, or dining rooms, the rich tones create a cozy yet refined ambiance. Balance the darkness by pairing it with lighter floors, ceilings, or décor elements.
- Choose a high-quality stain: Darker stains can look uneven if not applied properly, so quality products are essential.
- Use strategic lighting: Ensure there’s ample lighting to keep the room from feeling too closed in.
- Combine textures: Plush rugs, soft textiles, and metallic accents can help break up the darkness.
Complete the look with classic portraits or framed photos in gilded frames for a luxurious, old-world charm.
Add a statement rug that features lighter tones to add visual balance and keep the space from feeling too heavy.
Budget option: Consider a dark gel stain on more affordable wood or MDF panels to achieve the same rich effect without the cost of exotic hardwoods.

13. Eclectic mix of textured wainscoting panels

If you love an artistic or bohemian touch, experiment with multiple textures in your wainscoting panels. Combine wood, wallpapered sections, metal, or even leather inserts for a one-of-a-kind statement. This style celebrates creativity and works especially well in eclectic living rooms or creative studios.
- Plan your palette: Pick complementary colors or patterns to avoid a jarring effect.
- Consider a focal wall: Keep other walls simple so your textured wainscoting stands out.
- Tie it together with décor: Throw pillows, rugs, and artwork that echo the panel materials can create harmony in the space.
Complete the look with interesting light fixtures or bold pendant lamps that highlight the dimensional qualities of the panels.
Set a few statement pieces (like sculptural vases or quirky art) along the wainscoting line to emphasize its unique design.
Budget option: Use peel-and-stick wallpaper panels for a quick and less costly way to incorporate texture without permanent commitment.

14. Luxurious feel with marble wainscoting designs

Few materials say luxury like marble. Incorporating marble wainscoting can transform a bathroom, foyer, or dining room into a lavish retreat. With its natural veining and polished surface, marble wainscoting often works best in smaller doses, ensuring it remains the star of the room without overpowering other elements.
- Choose the right type of marble: Each variety has unique veining and color tones, so pick one that suits your palette.
- Keep it simple: Let the marble speak for itself by using minimal accessories or complementary neutral colors.
- Seal and maintain: Marble is porous, so sealing is crucial to avoid stains or etching.
Complete the look by pairing the marble with metallic accents like brass or gold fixtures, further enhancing the luxurious feel.
Soft, warm lighting can highlight the stone’s natural patterns and create a welcoming glow.
Budget option: Marble-look tiles or laminate panels can provide a similar upscale aesthetic without the high cost of genuine stone.

15. Dynamic spaces with ombré-painted wainscoting

For a modern twist, use an ombré painting technique on your wainscoting. Gradually blend two or more hues to create a soft transition of color across the paneling. This approach can bring a playful or artistic energy to the space, making it ideal for creative studios, kid’s rooms, or trendy living areas.
- Plan your color gradient: Choose shades that flow harmoniously, like different tones of the same color or complementary colors.
- Practice blending: If you’re DIY-ing, perfect your brush strokes and blending technique before tackling the full wall.
- Test with samples: Small paint samples can help you confirm that the gradient looks natural.
Complete the look by pairing the ombré wainscoting with simple white or neutral walls above, keeping the focus on the gradient effect.
Minimal artwork or monochrome décor can help highlight the bold color transitions without clashing.
Budget option: Start with leftover paints you already have, mixing them to achieve the gradient rather than buying brand-new shades.